Build
Robot's body
The only non-3d-printed parts of the robot are 3mm acrylic plate and 10mm M3 bolts and nuts.
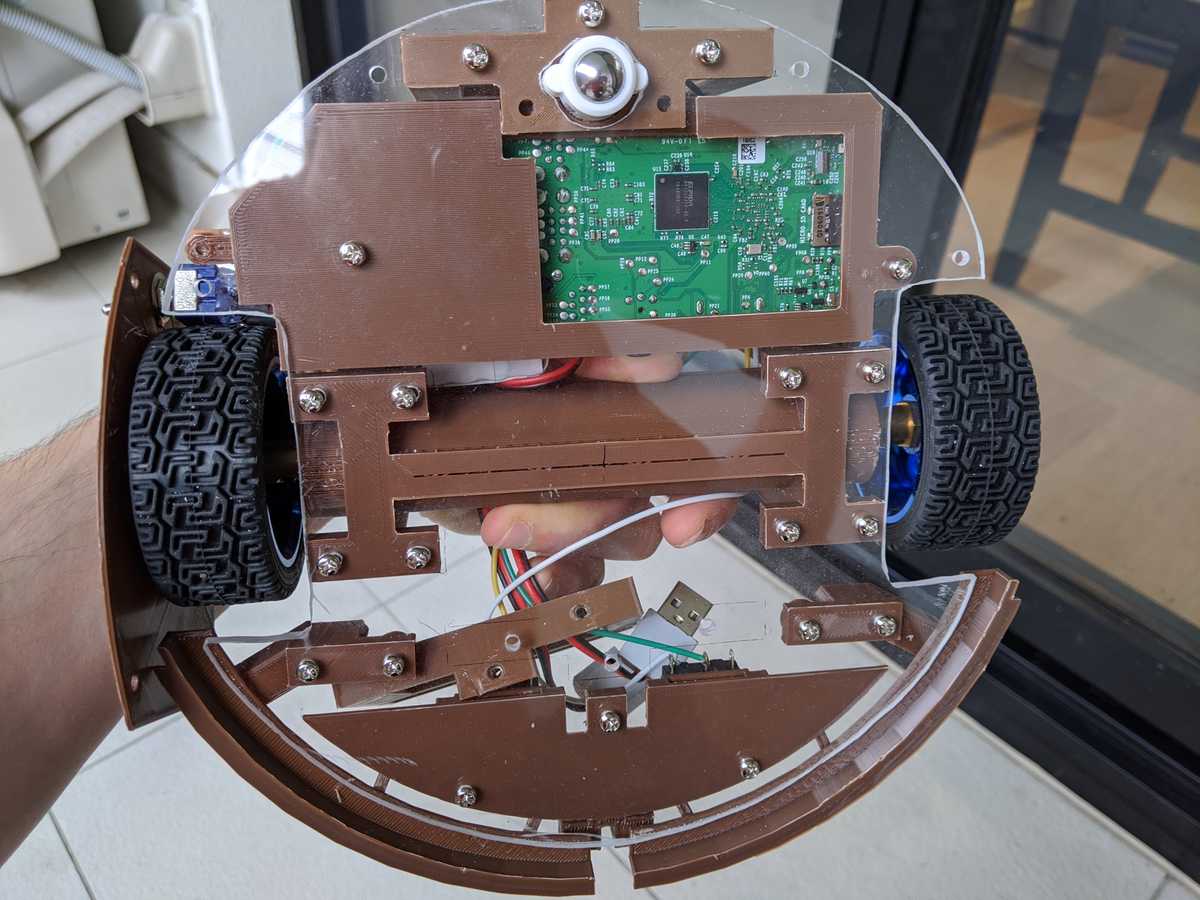
Acrylic plate base
Acrylic was chosen because of its strength and ease of cutting/drilling with Dremel.
Here is the pdf which can be printed and used for cutting.
You don't have to worry if the edges are not straight or round enough since they will be hidden behind a 3d-printed shell and would not be visible later.
There is also an STL of the plate in case you have a printer big enough to print it (it's 208mm in diameter).
This could save you some time.
3D-printed parts assembly
All STLs are available here
They were designed to fit a 15x15cm build plate, so they can be printed on almost any printer.
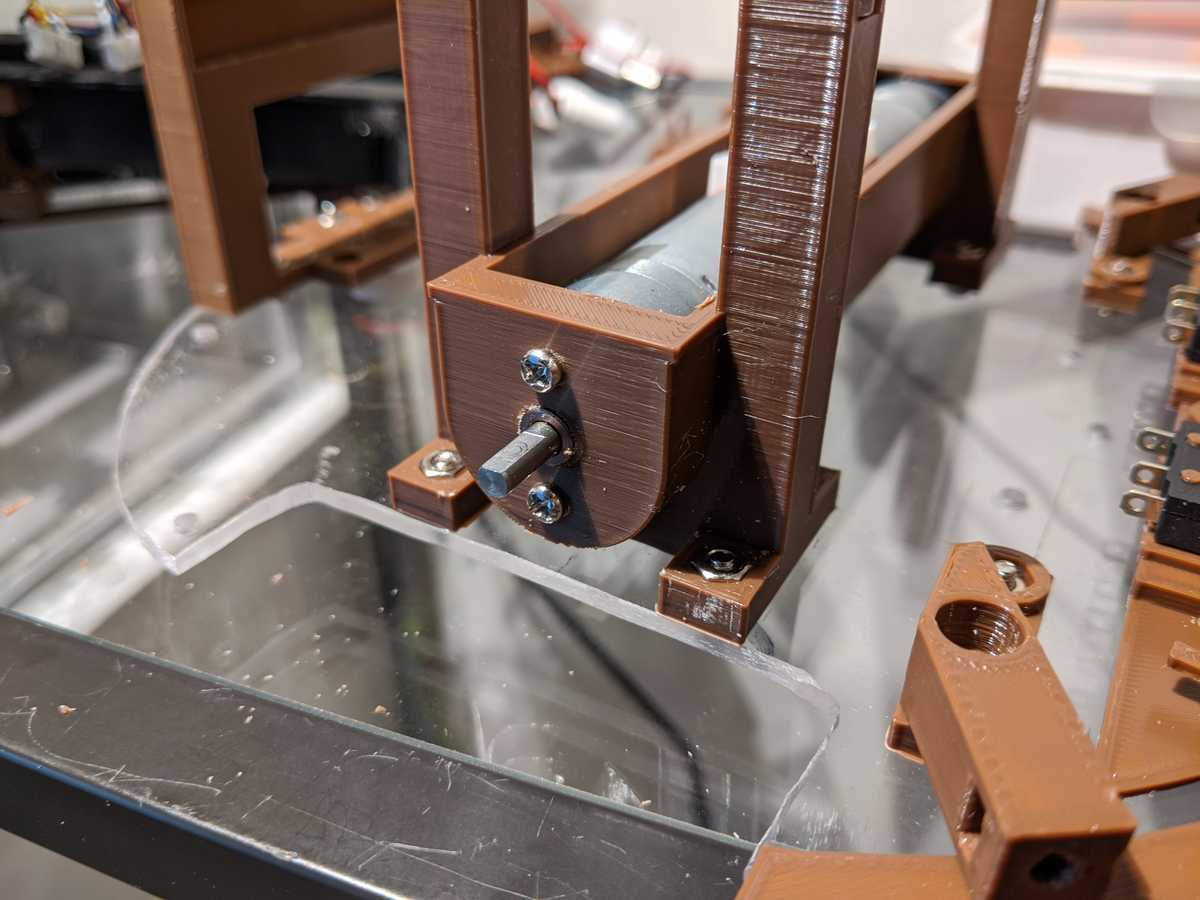
Motors stand
Stand for motors also supports the top cover plates.
Use file to make sure the holes are a tight fit for the motors.
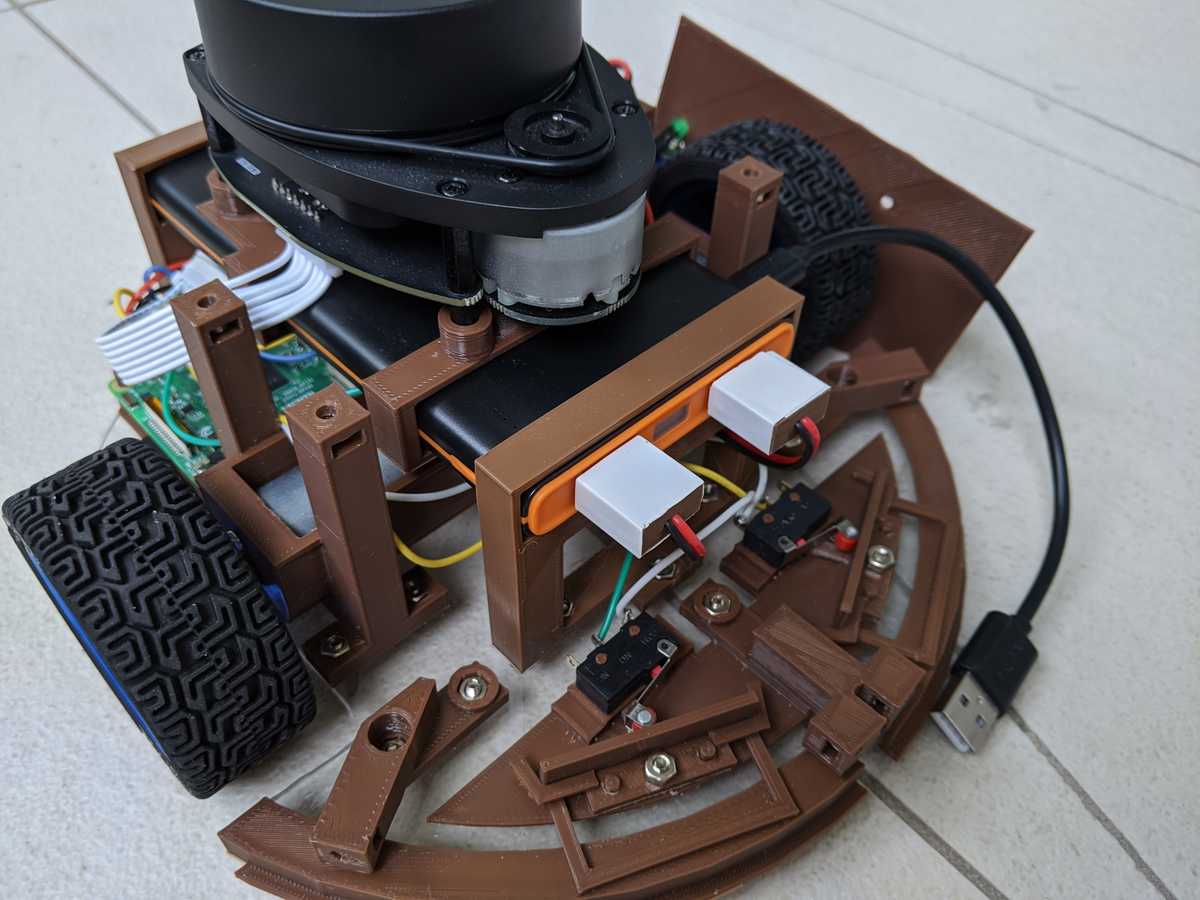
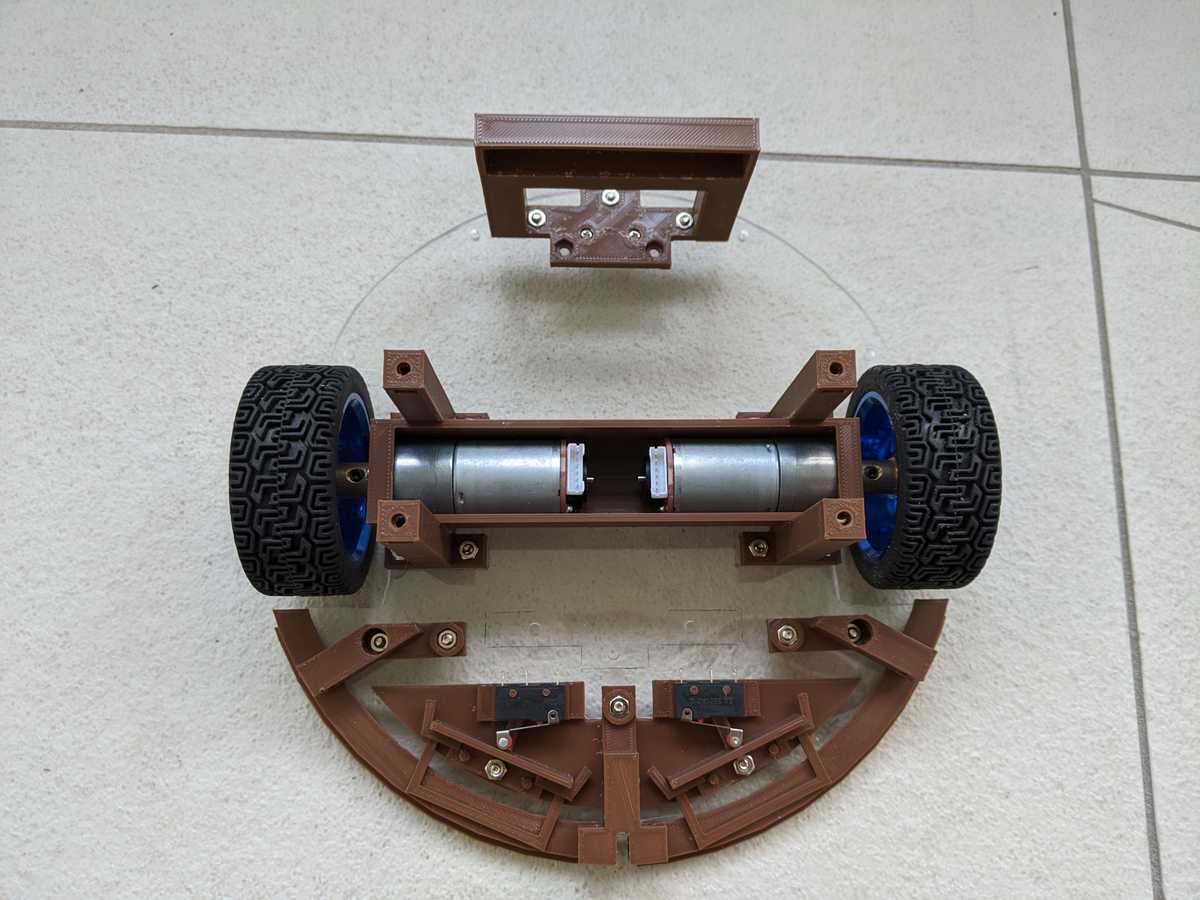
This is how it looks with wheels on and a bumper attached and assembled.
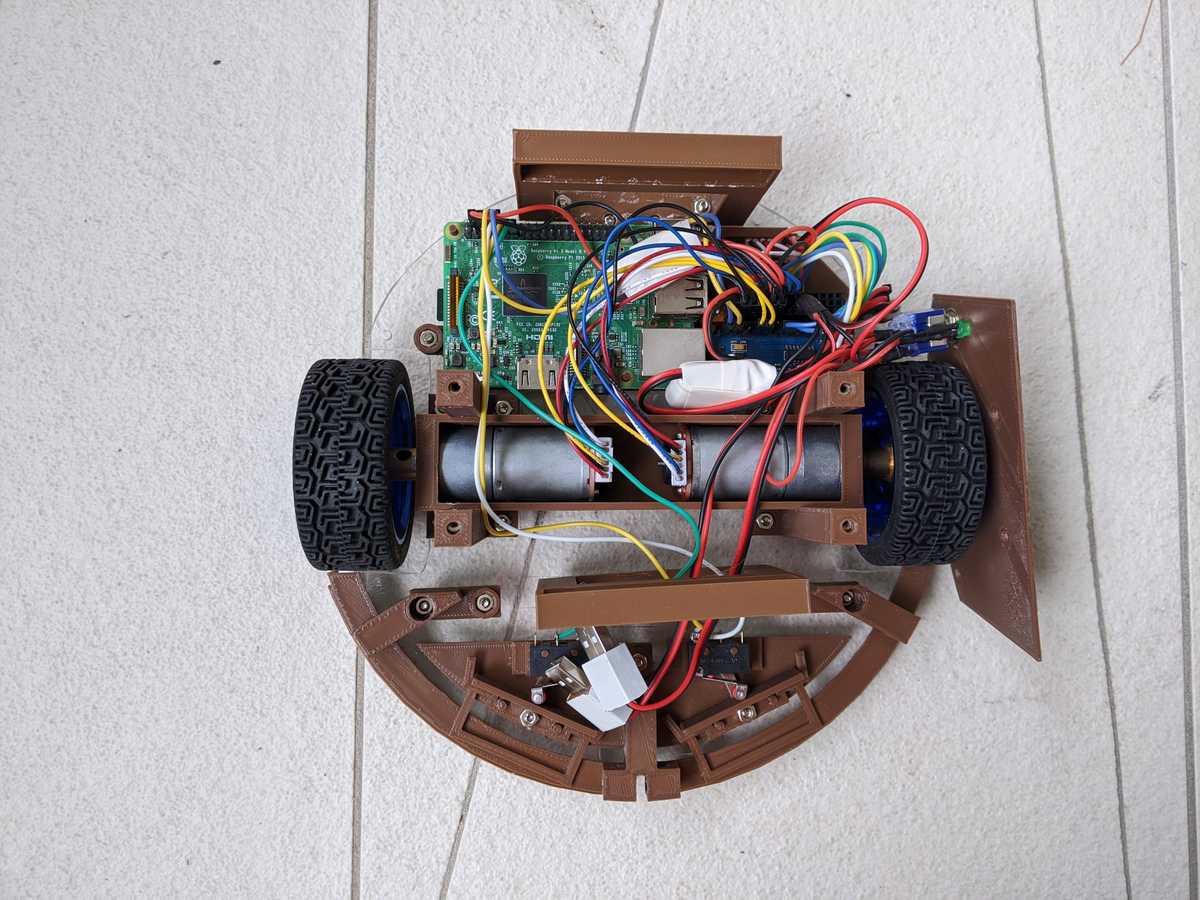
Electronics and wiring all in place
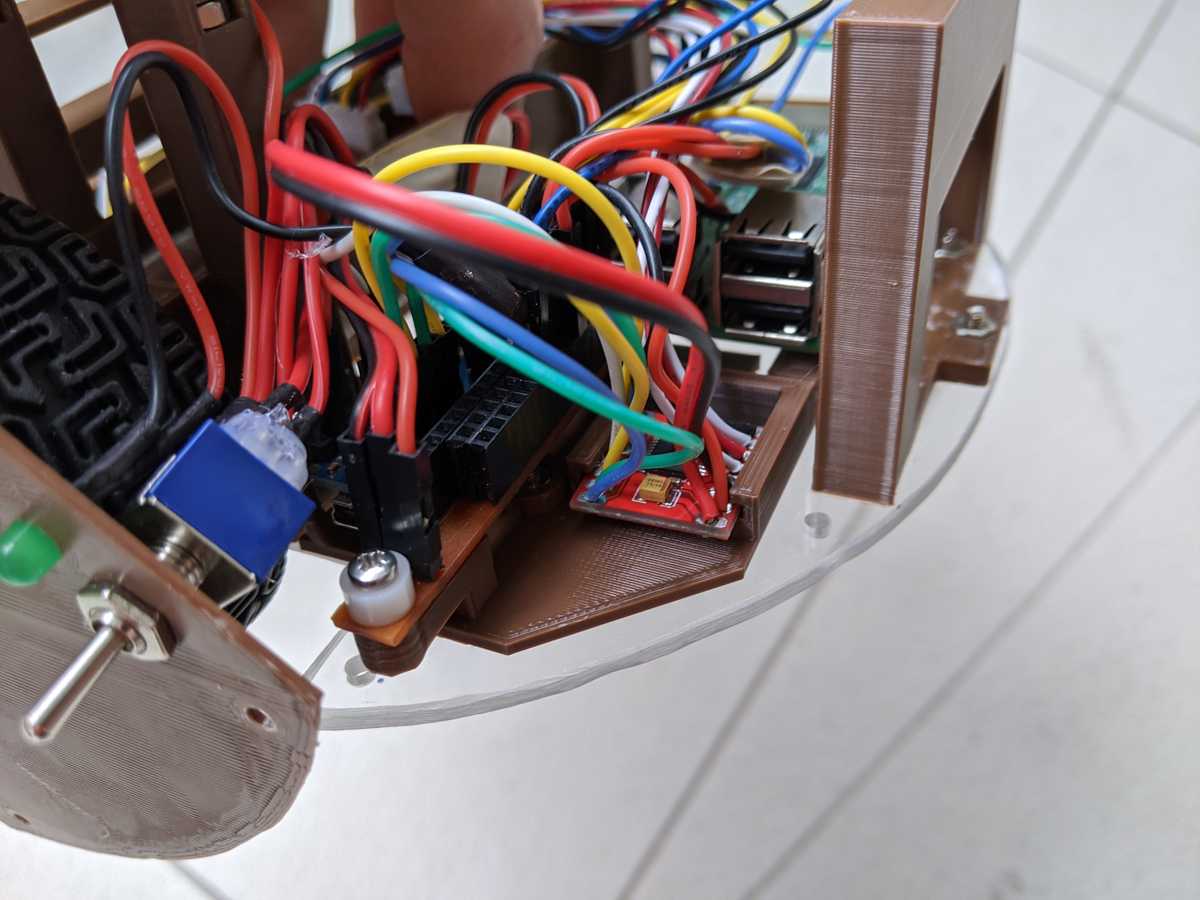
DIY power strip with 3 rows of dupont connectors - ground, 5v and 3.3v.
It's very handy because you don't have to think about calculating a number of power wires you will need upfront.
It will also allow to add more devices in the future.
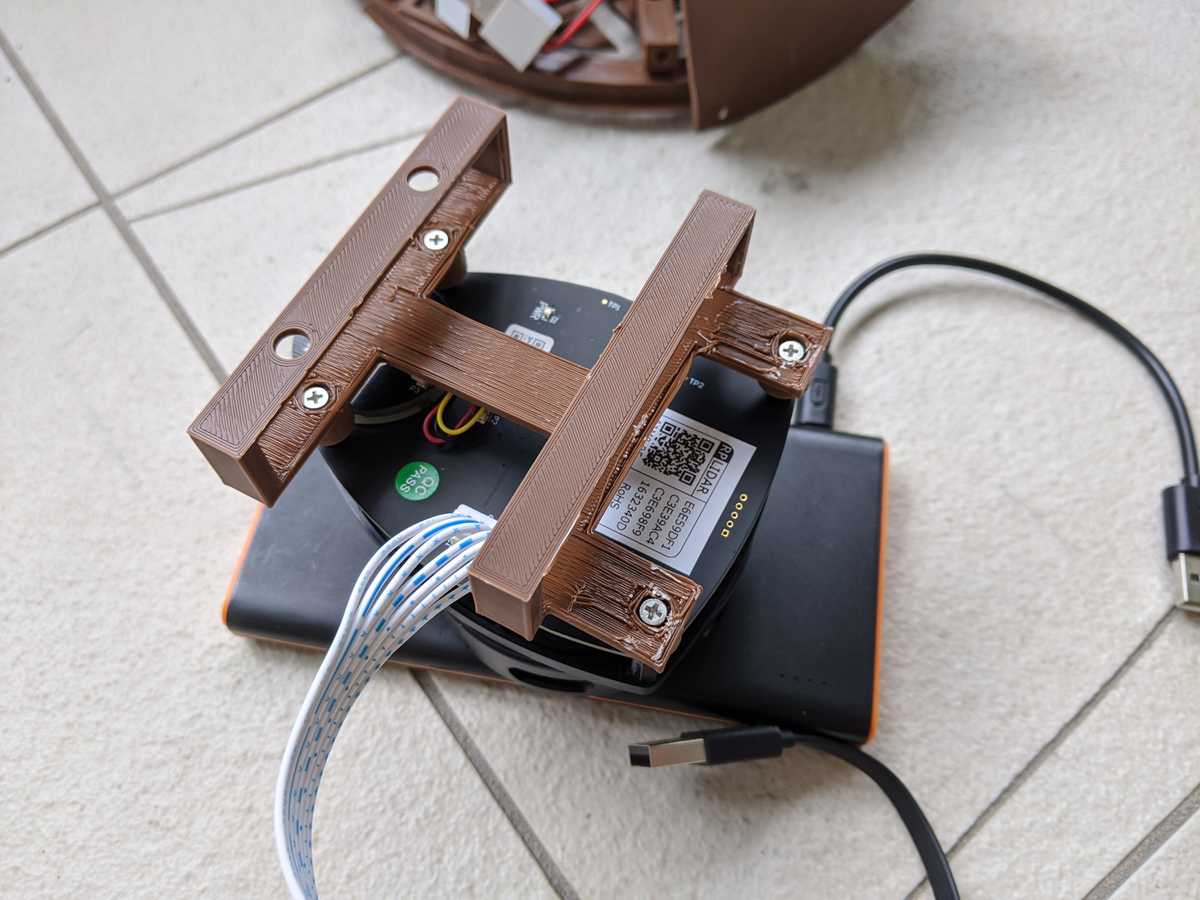
Lidar is mounted on a sort of a "sleeve" which then slides onto the battery.
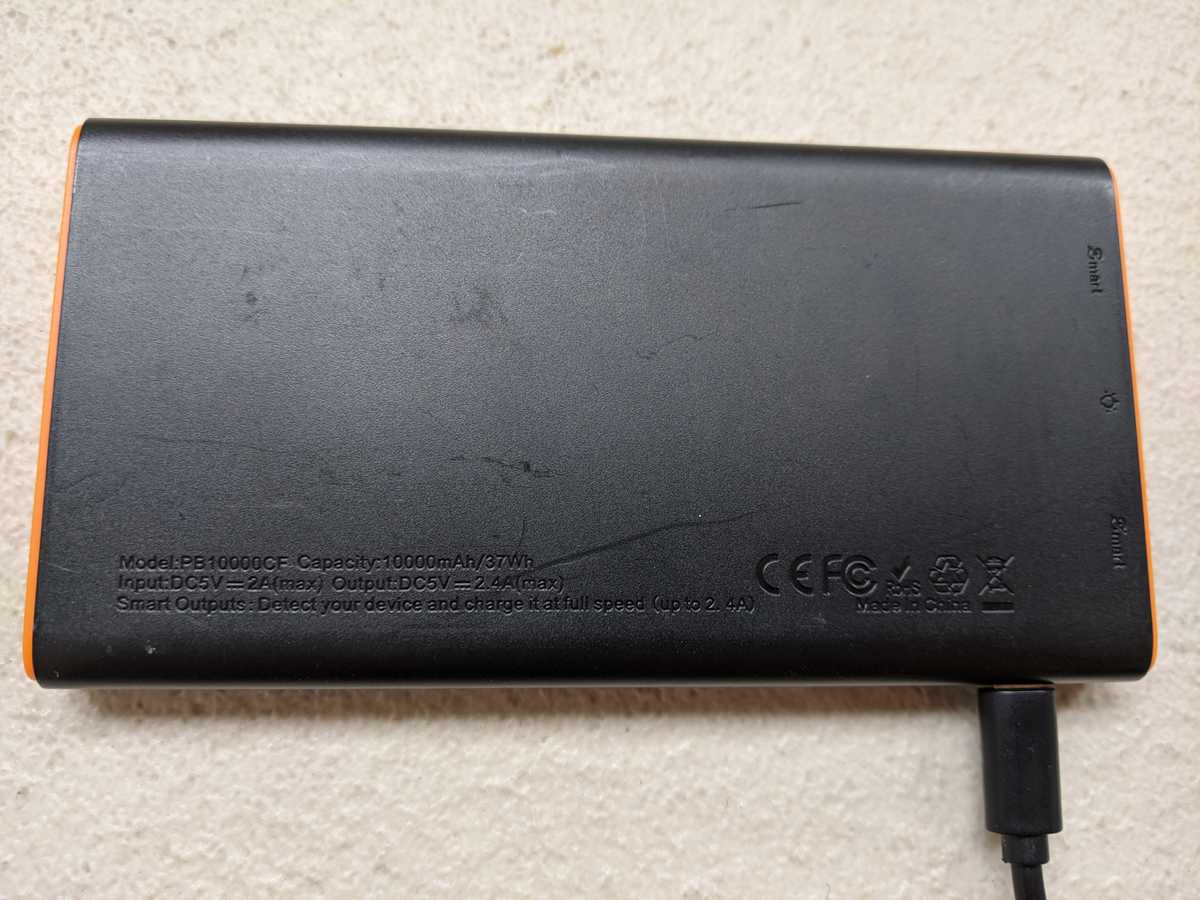
This is how the battery looks like (EasyAcc PB10000CF Power Bank).
Battery stands and a lidar mount depend on battery dimensions, so if you can't find this battery you'll have to modify
3d sources or print an "adapter" if you have a smaller battery.
More modular approach which would allow to use different batteries is a work in progress.
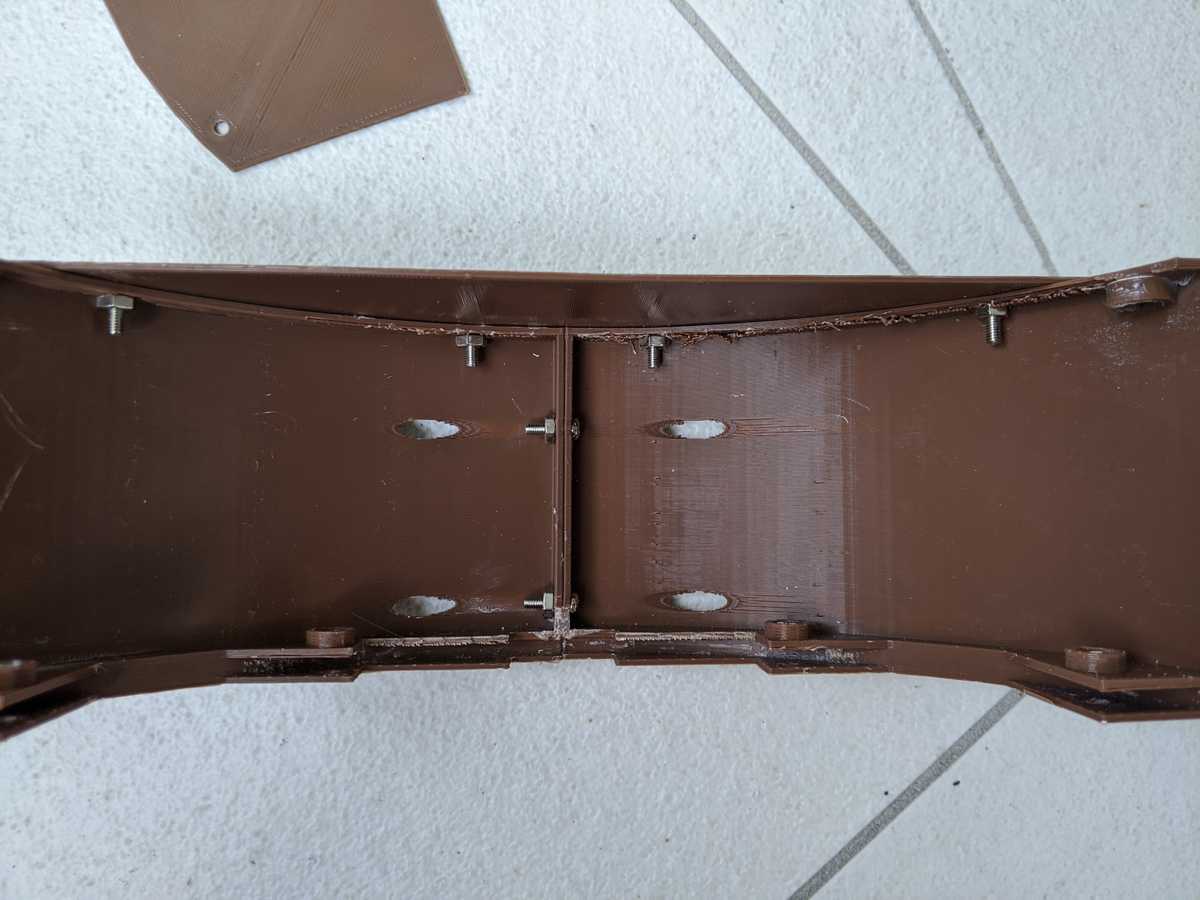
Back cover assembled. Could probably be printed in a single peace on bigger printers.
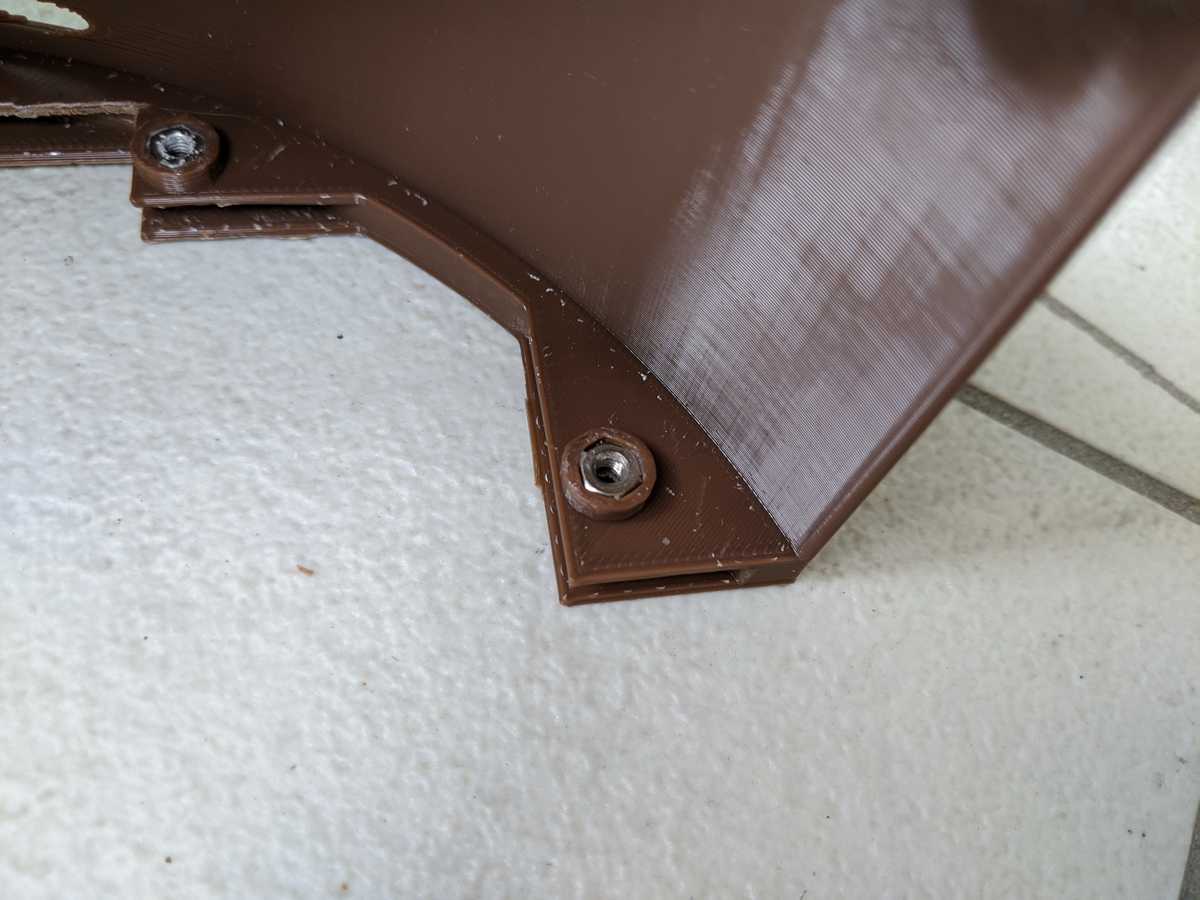
You should just be able to press M3 nuts into their slots.
Back cover has a 3mm slot (actually it's slightly bigger than 3mm) for acrylic plate to slide in.
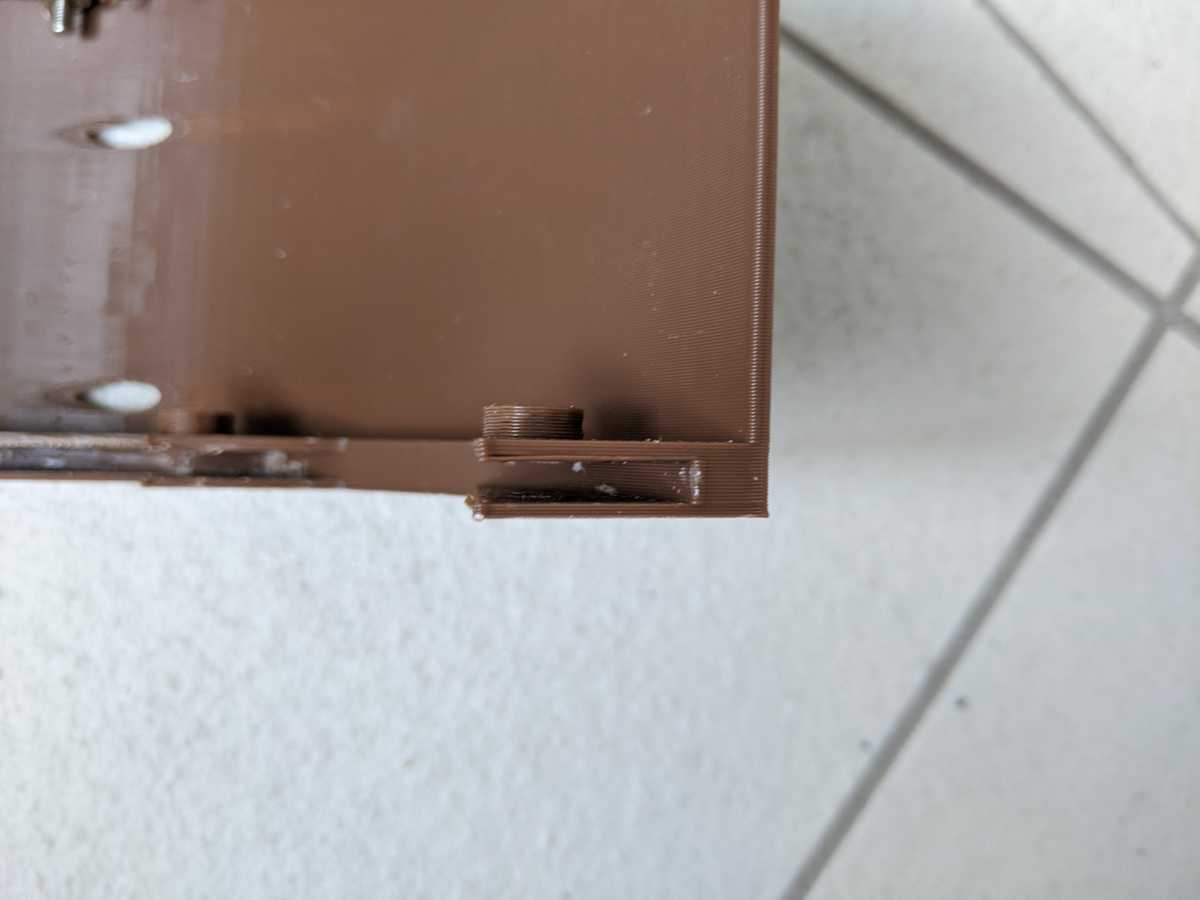
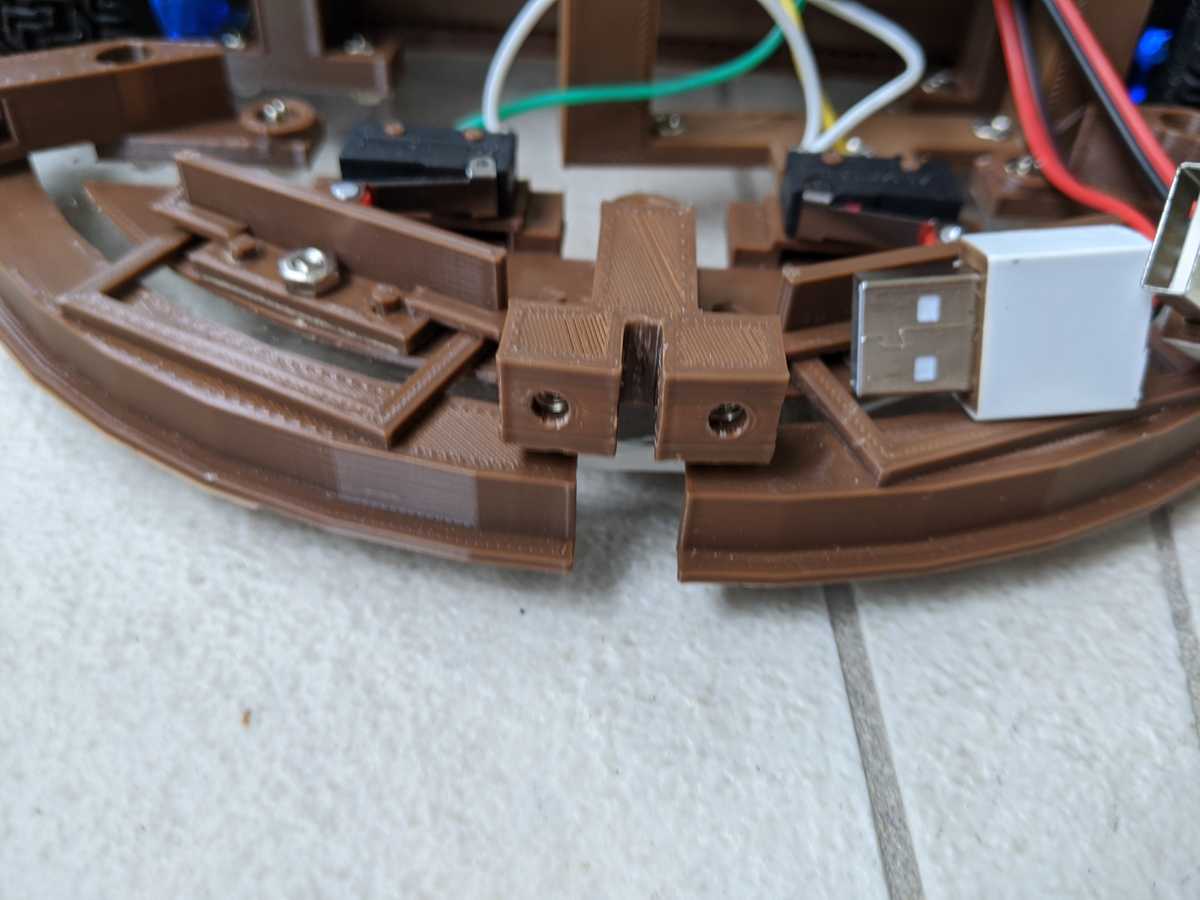
Bumper assembly. Center bolt goes through acrylic plate and the bumper.

Here is the video of how it behaves:
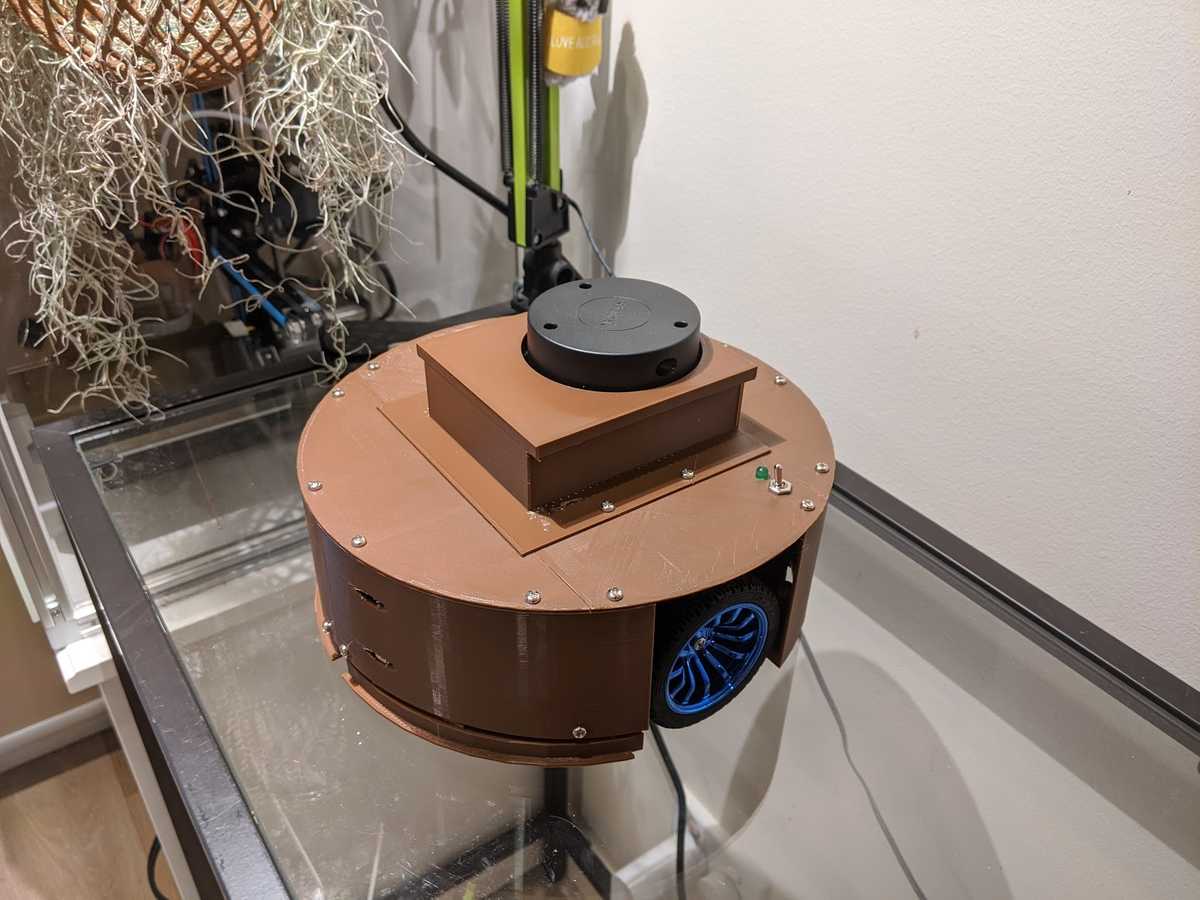
Front cover can't be mounted on acrylic plate because this is where the bumper is mounted.
There are 3 mounts which allow the front cover to "float" above the bumper.
